
Crochet Pink Bucket Bag with Scalloped Edge & Appliqué Charms | Free Pattern

Why Make This?
Looking for a fun and rewarding crochet project? This adorable design is a great way to turn a few simple materials into something special.
It's cute, customizable, handmade, and perfect for gifts, everyday use, summer outfits, or simply adding a unique touch to your collection.
Plus, you can experiment with different colors and details to make your own version truly one of a kind.
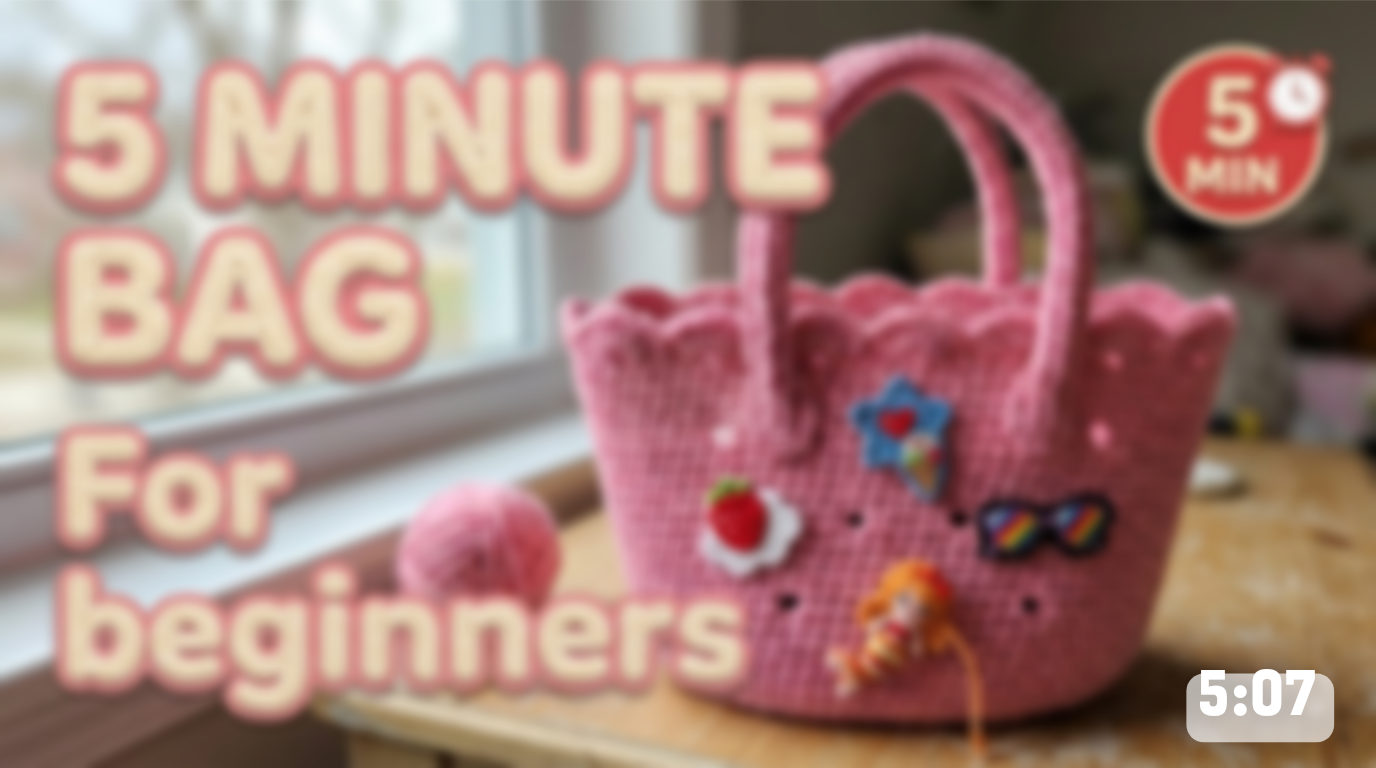
Finished Size

Materials
Worsted weight yarn (Yarn weight 4) in:
Abbreviations
Techniques
A. Bag Base (Pink)
Rnd 1: 6 sc in MR (6)
Rnd 2: 6 inc (12)
Rnd 3: (sc, inc) x 6 (18)
Rnd 4: (2 sc, inc) x 6 (24)
Rnd 5: (3 sc, inc) x 6 (30)
Rnd 6: (4 sc, inc) x 6 (36)
Rnd 7: (5 sc, inc) x 6 (42)
Rnd 8: (6 sc, inc) x 6 (48)
Rnd 9: (7 sc, inc) x 6 (54)
Rnd 10: (8 sc, inc) x 6 (60)
This creates a flat oval-tending-round base approximately 6 in (15 cm) across.
B. Bag Body/Sides (Pink)
Continuing directly from the base without turning:
Rnd 11: 60 sc, working in BLO to create a defined base edge (60)
Rnd 12-26: 60 sc (60) — 15 rounds worked even, forming the straight bucket-shaped sides
The body flares very slightly outward toward the top; if a more pronounced flare is desired, work an increase round of (9 sc, inc) x 6 (66) partway through (e.g., at Rnd 20), then continue even at 66 sts to the top.
FO after Rnd 26 if working the scalloped edge as a separate final round, or continue directly into Part C.
C. Scalloped Top Edge (Pink)
Worked directly onto the last round of the body (60 sts):
Rnd 27: *Skip 1 st, 5 dc in next st, skip 1 st, sl st in next st; repeat from * around (10 scallops total)
FO, leaving a long tail for weaving in.
Each scallop uses a span of 3 stitches (skip, 5-dc shell, skip) plus 1 sl st anchor point, repeated 10 times around the 60-stitch opening to create the wavy, petal-like top edge visible in the reference.
D. Handles (Pink) – make 2
Each handle is worked as a long chain-based tube:
Ch 6: join with sl st to form a small ring, or work as a flat starting chain.
Row 1: Working around the ring, sc in each ch (6)
Rnds 2-45: 6 sc (6) — continue in continuous rounds to form a long tube approximately 14 in (36 cm) long, lightly stuffing as you go every 8-10 rounds to keep the tube round and stiff.
FO, leaving a long tail.
Flatten the ends slightly for sewing to the bag rim.
Shaping
The base uses standard round shaping (increases every round) to lie flat.
The sides are worked even with no shaping to create the straight-walled bucket silhouette.
The scallop round uses clusters of 5 dc separated by skipped stitches and sl st anchors, which naturally curls the top edge outward and creates the ruffled, wavy rim seen in the photo.
Handles are simple stuffed tubes, arched and sewn at two points on each side of the bag rim to create the crossed, arched handle silhouette shown in the reference.
Color Changes
Entire bag body, base, scalloped edge, and handles: worked solely in Dusty Rose/Pink; no color changes within these pieces.
All color variation: comes from the separately crocheted/felt appliqué charms described below.

Appliqués and Small Details
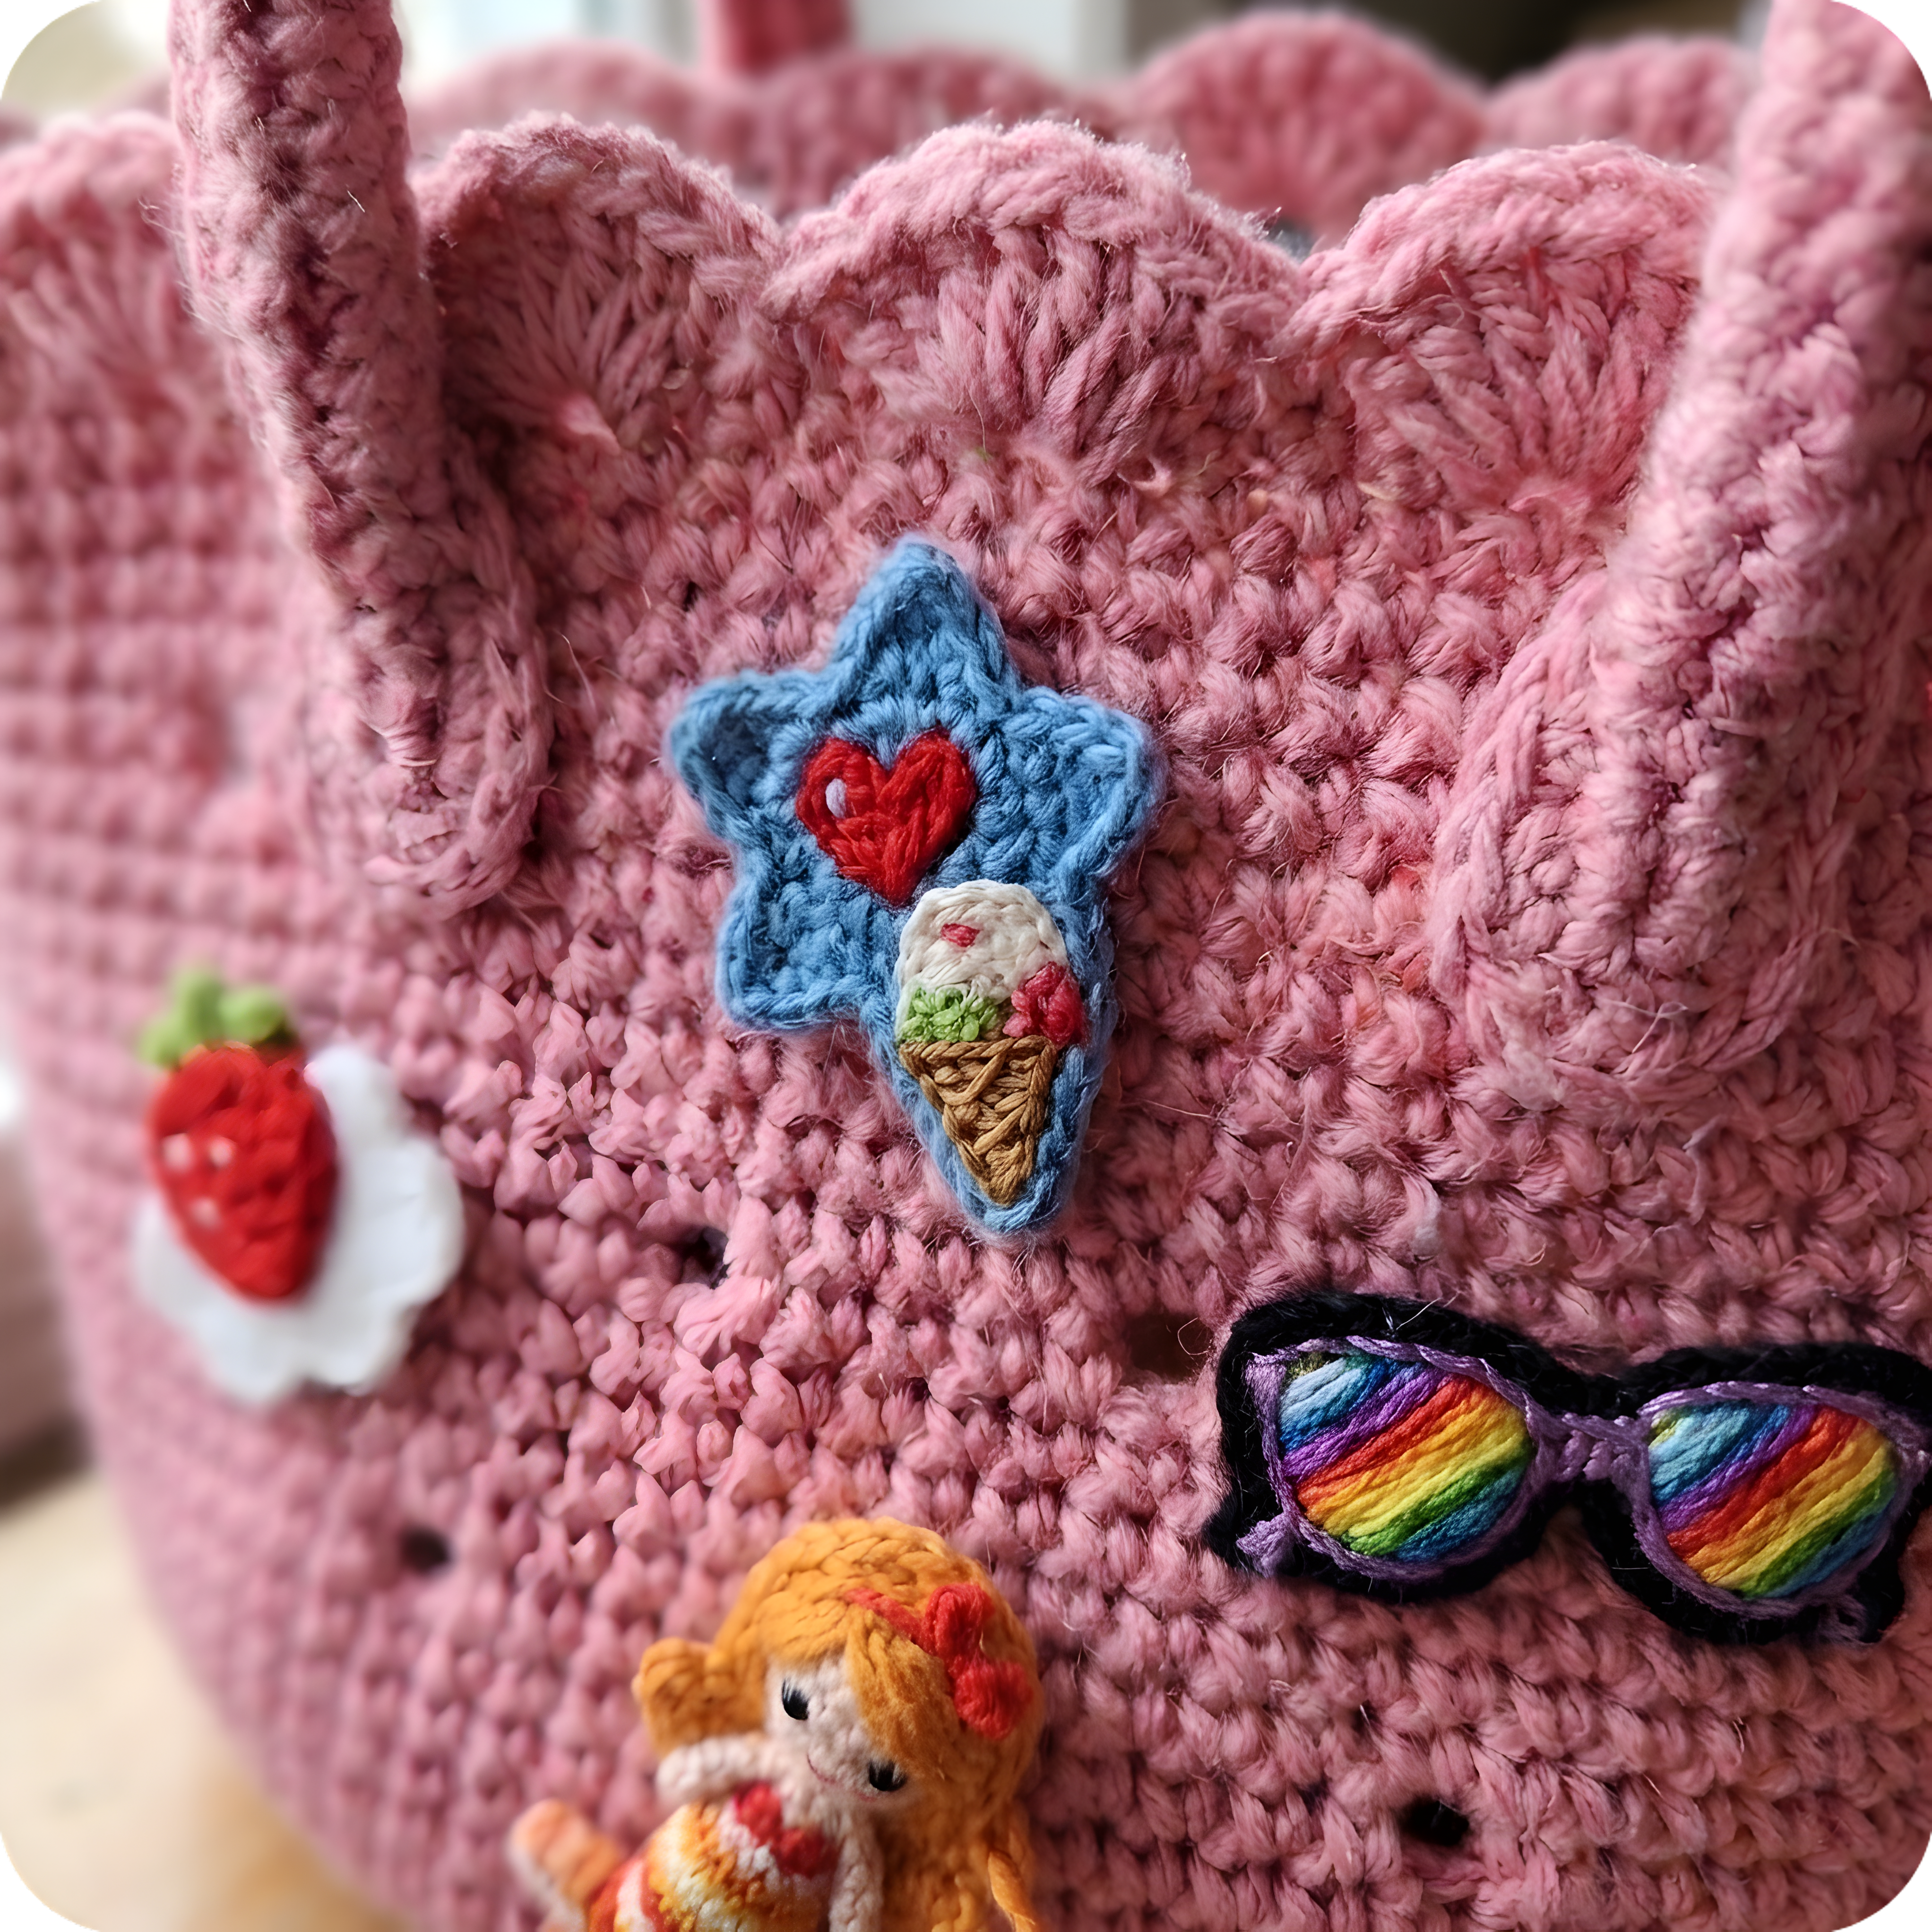
Cut a scalloped flower shape from white felt, approximately 1.5 in (4 cm) diameter, with 5-6 rounded petals.
Crochet or cut a red strawberry shape (rounded triangle, approx. 1 in / 2.5 cm) and layer on top of the white flower base.
Embroider small white "seed" dots (French knots or straight stitches) scattered across the red strawberry.
Add 1-2 small green stitches at the top for the leaf/stem.
Position on the lower-left front of the bag, below the star charm.
Crochet a small 5-pointed star shape in blue, approximately 1.75 in (4.5 cm) across, using a flat star pattern (5 sc worked into points from a central MR, or a simple star-shaped chain outline filled with sc).
Embroider a small red heart in the upper-left area of the star.
Crochet a miniature ice cream cone (tan cone triangle, approx. 0.75 in / 2 cm; pink scoop on top) and sew it centered on the star, angled diagonally.
Position centered on the upper-middle front of the bag, between the handles' base points.
Crochet or cut two black felt lens frames, oval-shaped, approximately 1 in (2.5 cm) each, connected by a small black bridge and two side arms.
Fill each lens with horizontal stripes of rainbow yarn (red, orange, yellow, green, blue, purple) using surface embroidery or satin stitch.
Position on the right side of the bag front, roughly level with the strawberry charm on the left.
Small dimensional figure, worked as a flat-backed mini amigurumi:
Head/Body (Orange, approx.):
Rnd 1: 6 sc in MR (6)
Rnd 2: 6 inc (12)
Rnd 3-4: 12 sc (12)
FO.
Tail (Orange/White striped): Ch 8, sc back down chain, tapering with dec at the tip to form a pointed fin shape (approx. 2 in / 5 cm long).
FO.
Embroider blonde hair in yellow yarn across the head, with a small red bow accent at the side.
Sew the head, body, and tail together into a curled, reclining mermaid pose approximately 2.5 in (6.5 cm) long.
Attach a length of orange/tan yarn as a dangling "tail cord" beneath the mermaid for decorative movement, as shown trailing off the bottom of the charm.
Position at the bottom-center front of the bag, below the sunglasses and star charms.
Stuffing
Handles only: Lightly stuff each handle tube as you crochet, adding small amounts of fiberfill every 8-10 rounds and pushing it down gently to keep the tube evenly round and firm enough to hold an arched shape without collapsing.
Bag body: Not stuffed; the bag remains hollow to function as a usable tote/basket.
Mermaid charm: Stuff the head/body very lightly (a pinch of fiberfill) for slight dimension before sewing the tail on.
Assembly
Star with ice cream: upper-center, just below the handle bases.
Sunglasses: mid-right, slightly below and right of the star.
Strawberry flower: mid-left, roughly level with the sunglasses.
Mermaid: lower-center, below and between the strawberry and sunglasses.
Finishing
Weave in all yarn ends securely, working them through several stitches on the inside of the bag before trimming.
Lightly steam or block the bag body to help it hold its rounded bucket shape; insert a bowl or box temporarily while damp if a more defined shape is desired.
If extra structure is wanted, cut a piece of cardboard or plastic canvas to fit the base and insert it before final use.
Trim any stray fibers from the scalloped edge and appliqués for a clean, tidy finish.
Double check all charms and handles are securely attached and won't pull loose with regular handling.
Final Notes
Watch the Crochet Tutorial
You're one step away from the tutorial. Continue below to access the video.